
In today’s digital age, where photos are just a click away, there’s something special about turning those memories into tangible mementos. Whether you’re a seasoned scrapbooker looking for fresh inspiration or a beginner eager to embark on this creative journey, let’s explore the art of scrapbooking, one page at a time.
I’ve been scrapbooking for years now and recently completed my 3rd and 4th books, mostly filled with photos from my exchange period and smaller trips. I have noticed how much I have grown compared to when I got started with my first photobooks. I’ll be talking about how I get started, along with some tips. Additionally, I’ll share my favorite pages and examples with various bases.

- Organize and prioritize your photos. Make a careful selection of the pictures you really want to cherish. Don’t go printing 6 group photos that are slightly different. It will keep your pages much more entertaining and fun. Of course, this is all to your liking. You are still in charge.
Tip! If you really can’t make a selection or really like every group photo because they all have different poses for example, make sure to spread them out between your other pictures.

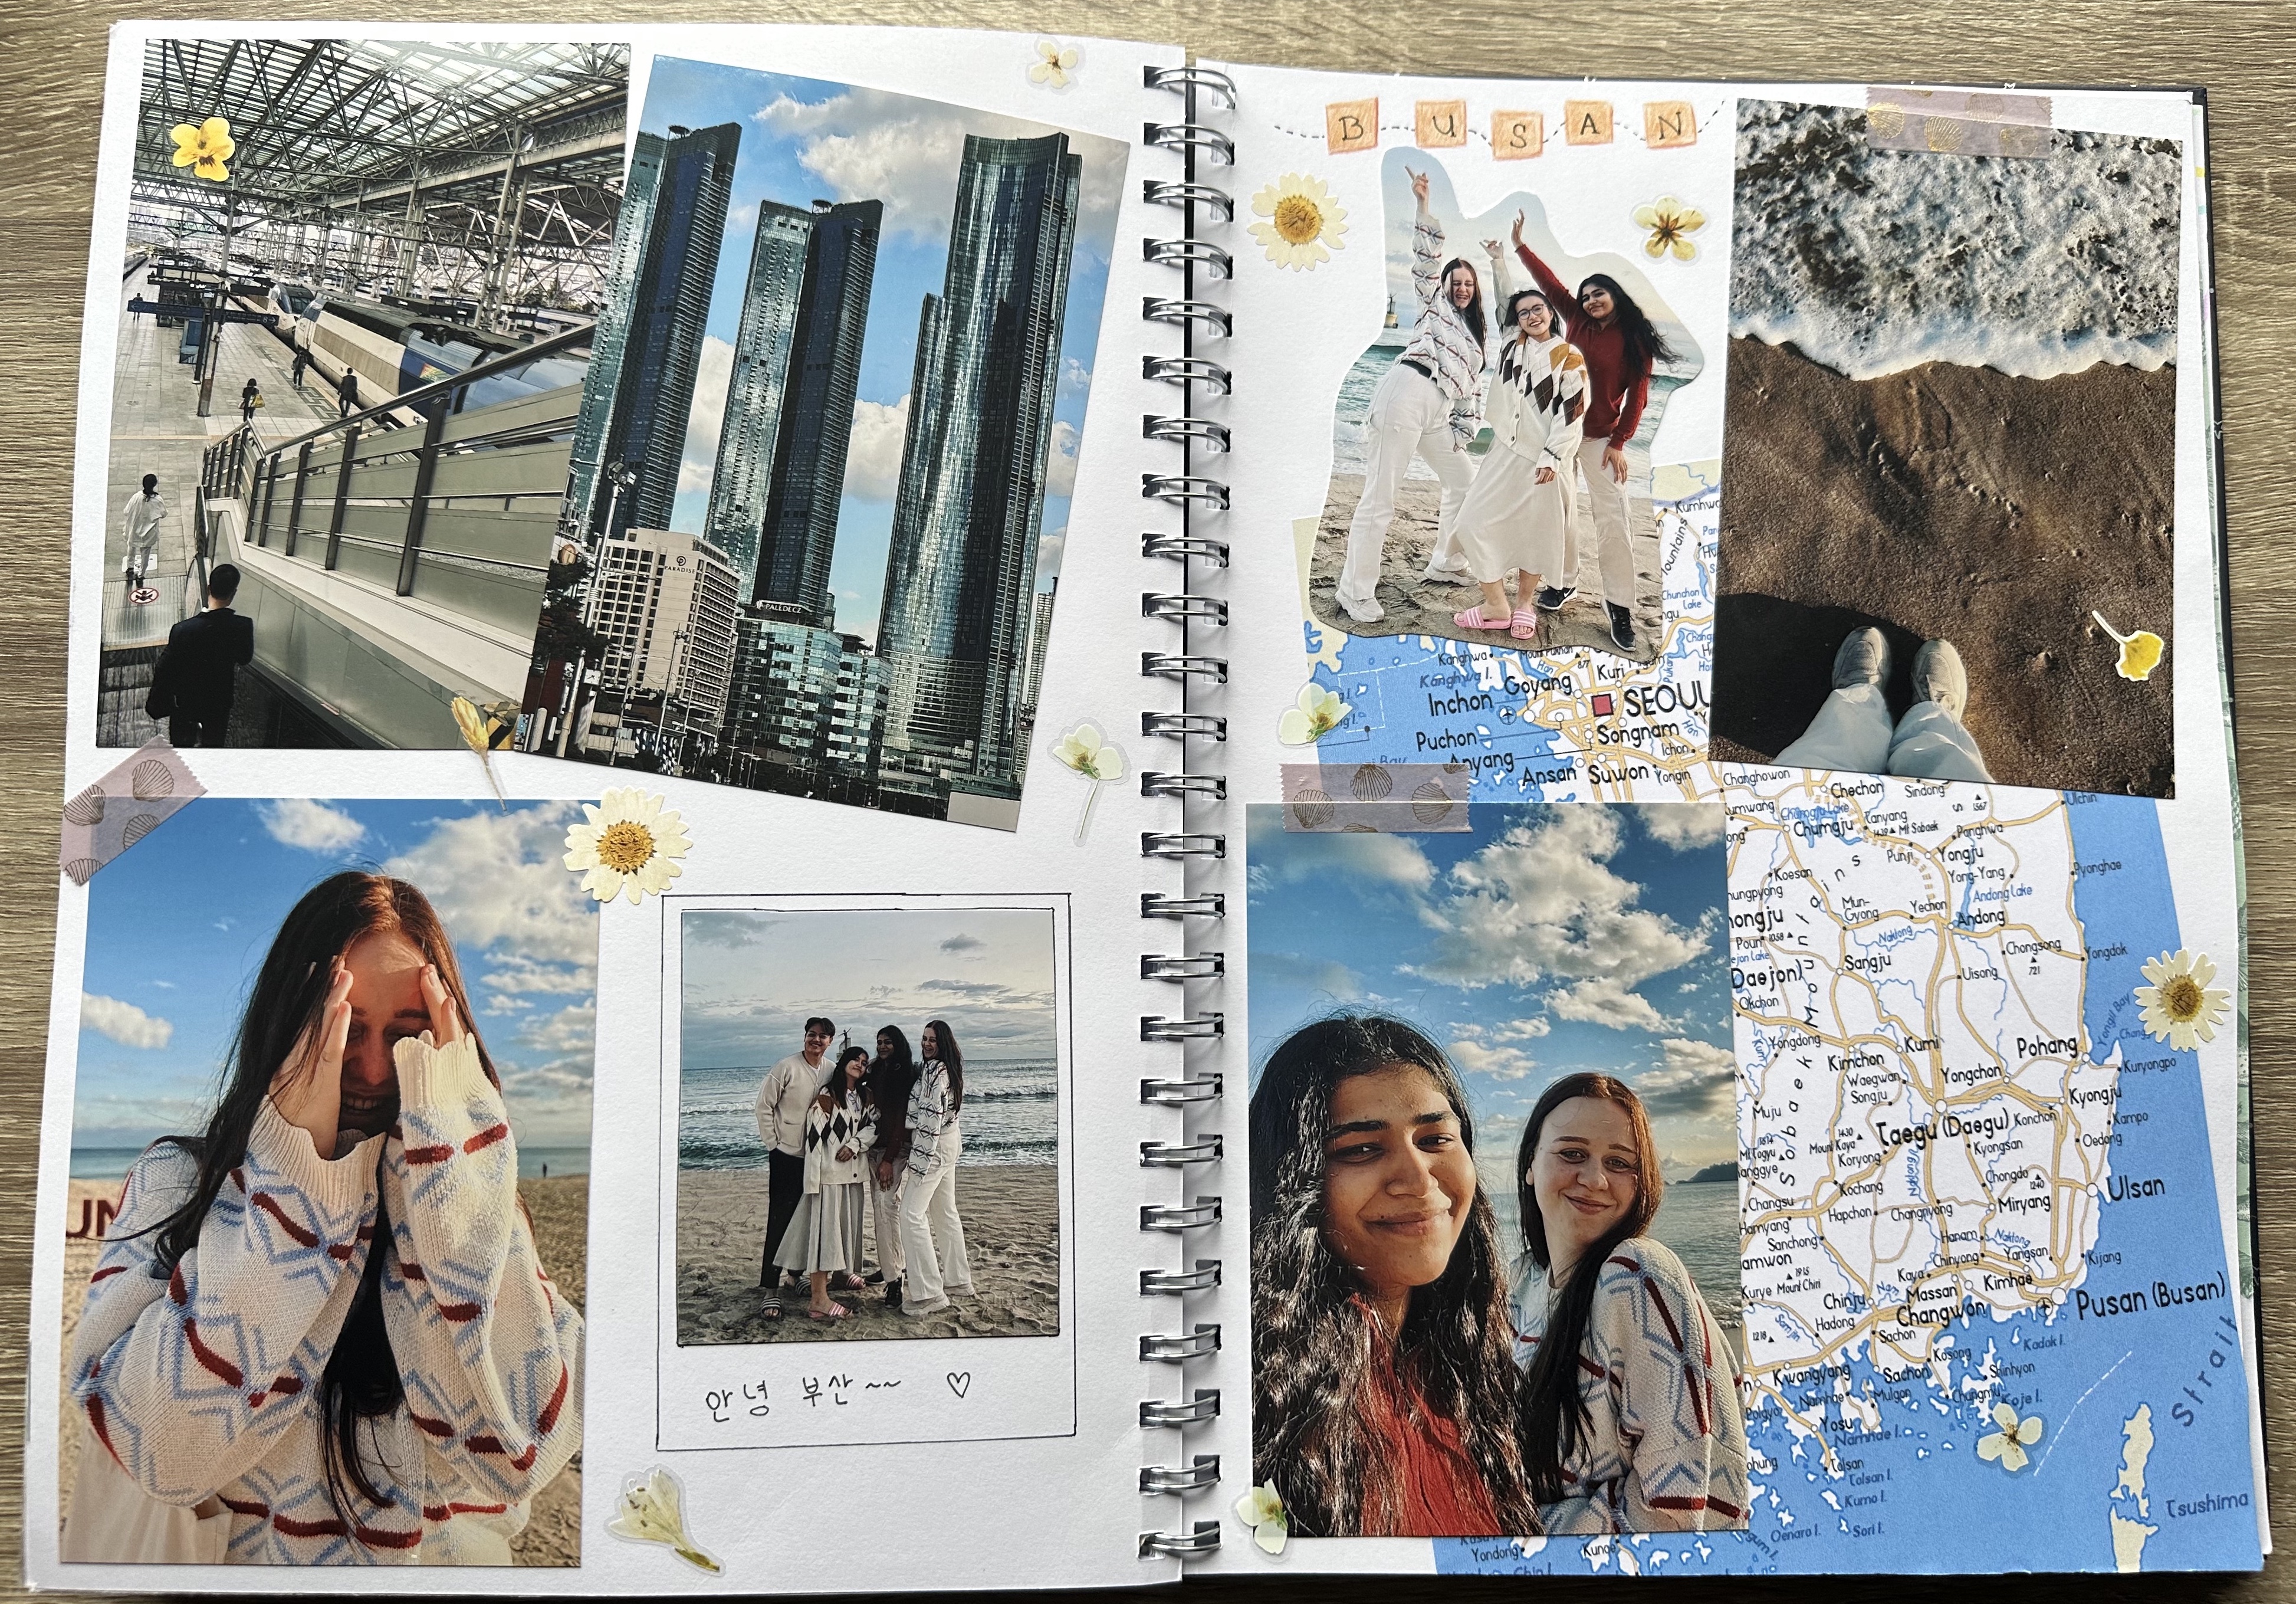
2. Collect your supplies. The most important things are washi tapes, stickers, decorative paper, photo glue, and, of course, your book. But you can add anything you can think of such as fabrics, tickets, old maps, markers, colored pencils, magazines, etc. Anything. The sky is the limit. Your desk might become a giant mess, but you have got to trust the process.
Tip! Opt for a book with blank paper and rings. Since it gets well stuffed after a few pages, a glued book is not efficient.
Tip! I placed airline tickets in a transparent cover (crafted with a plastic U folder) to maintain them in the best possible way. For instance, the ink on my oldest airline tickets has faded.
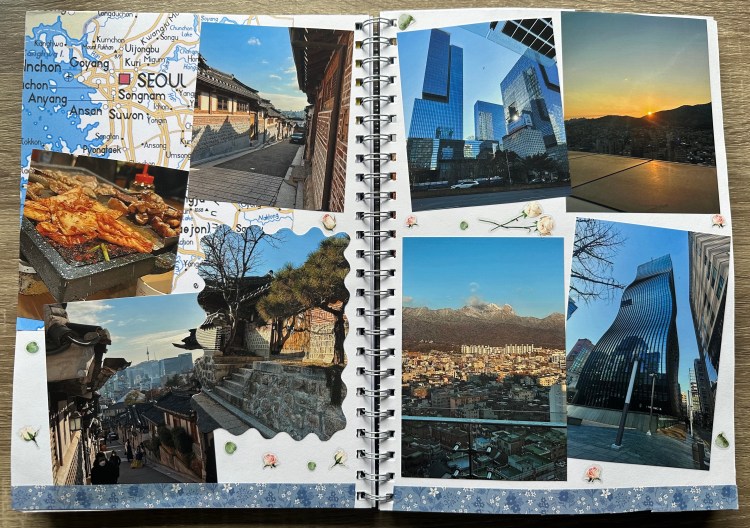
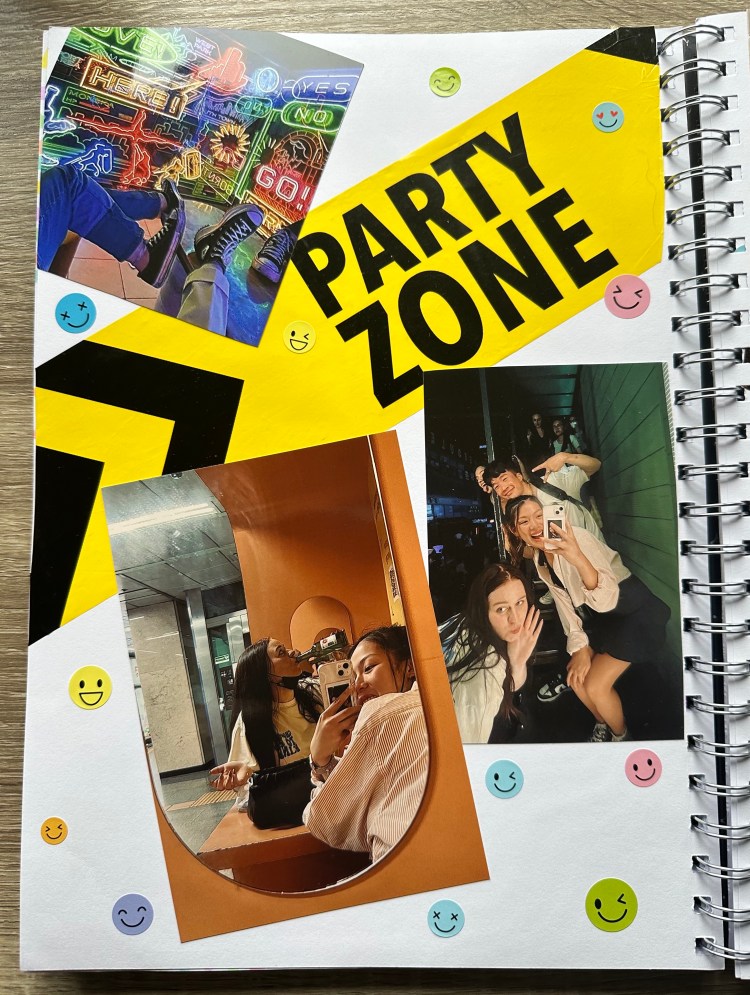
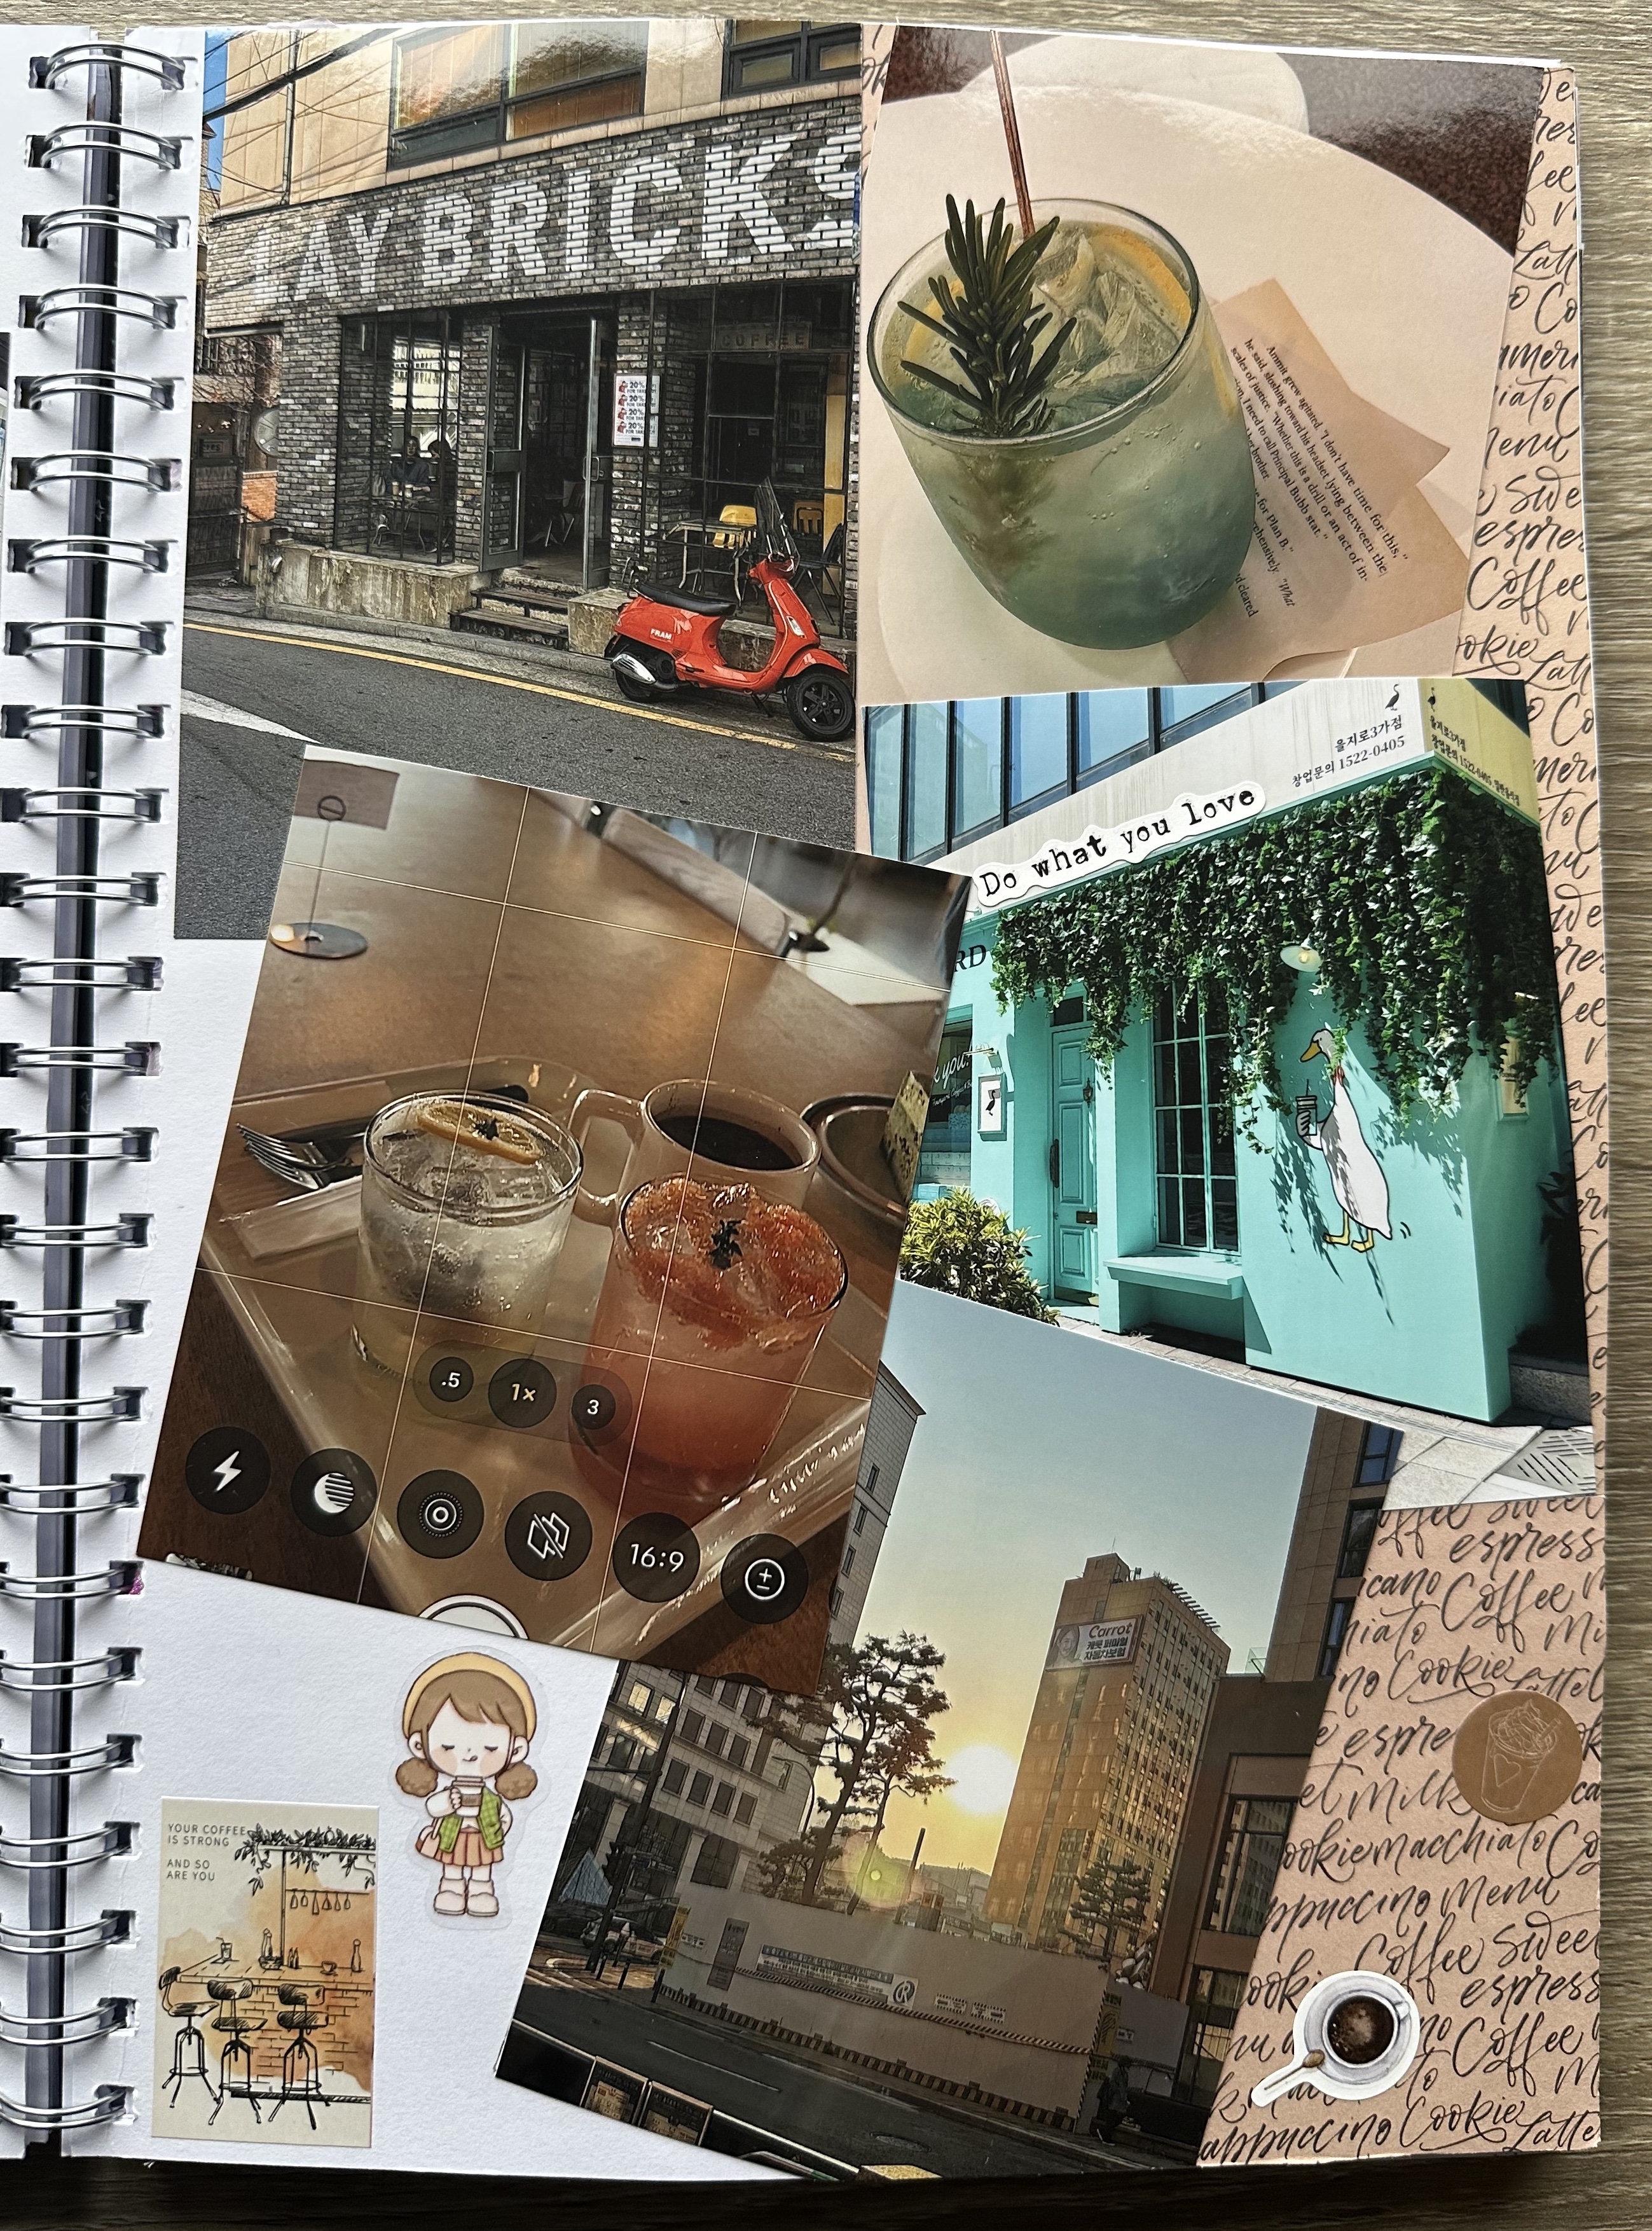
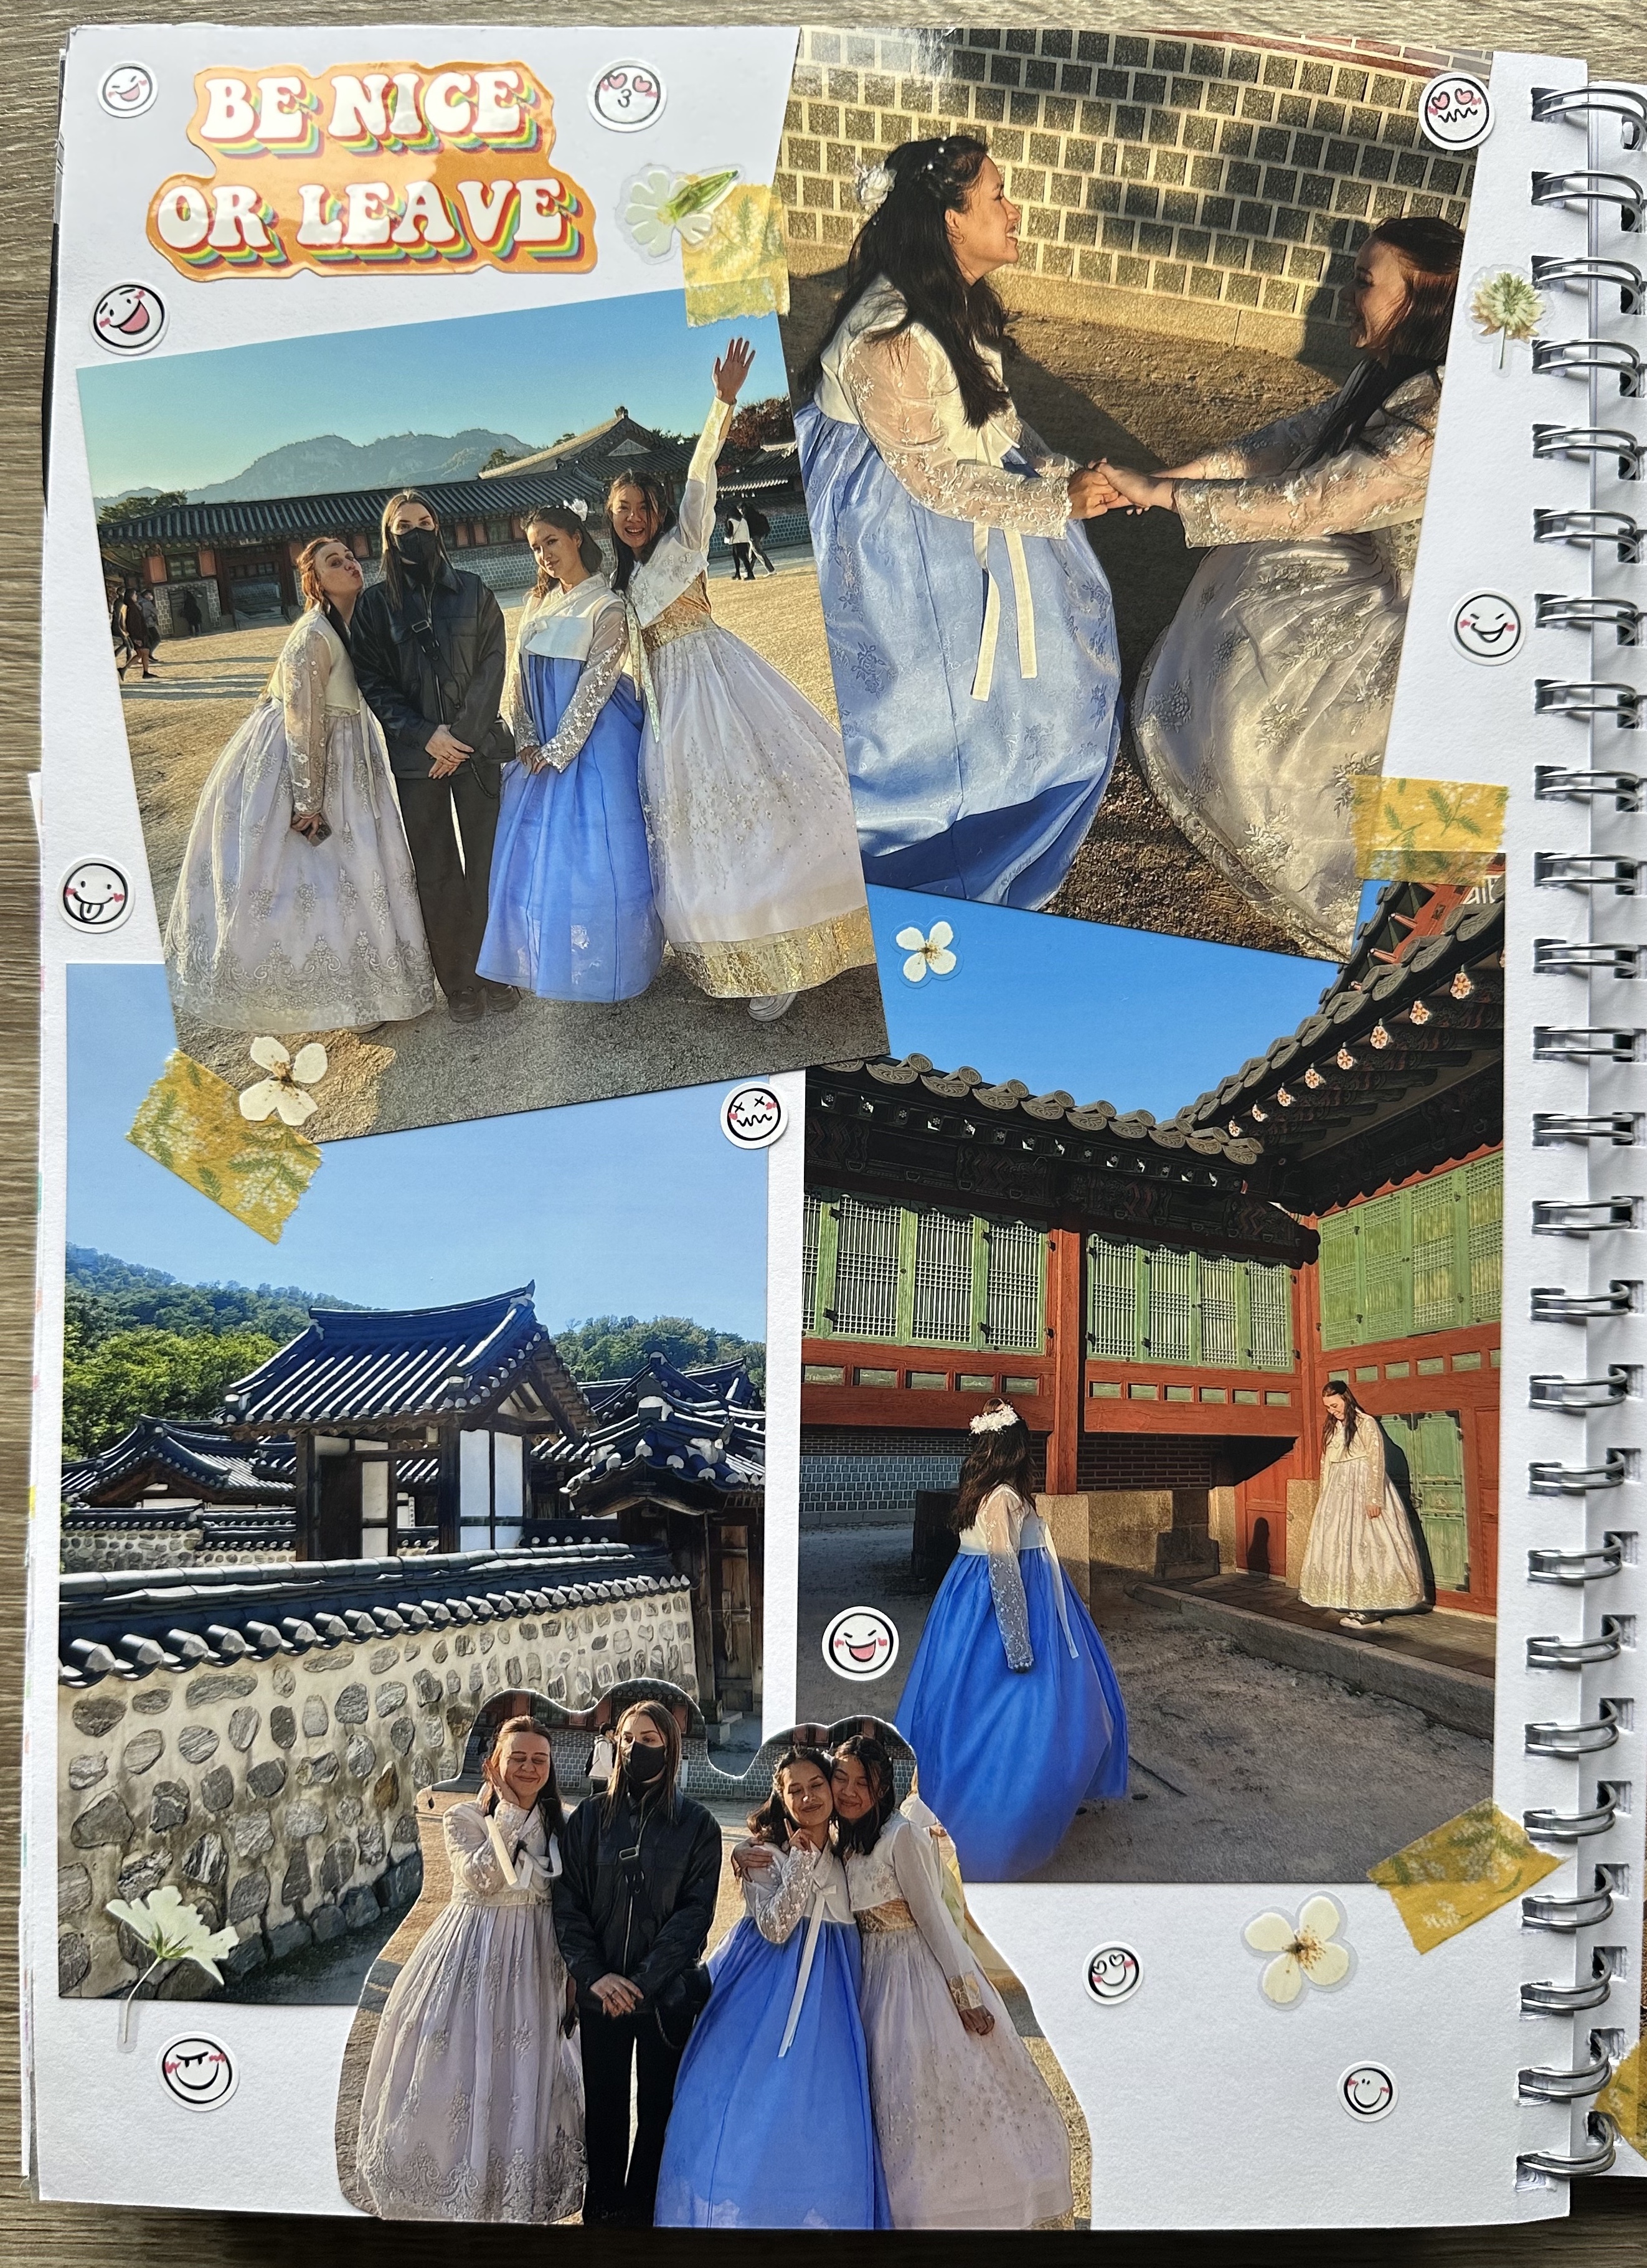
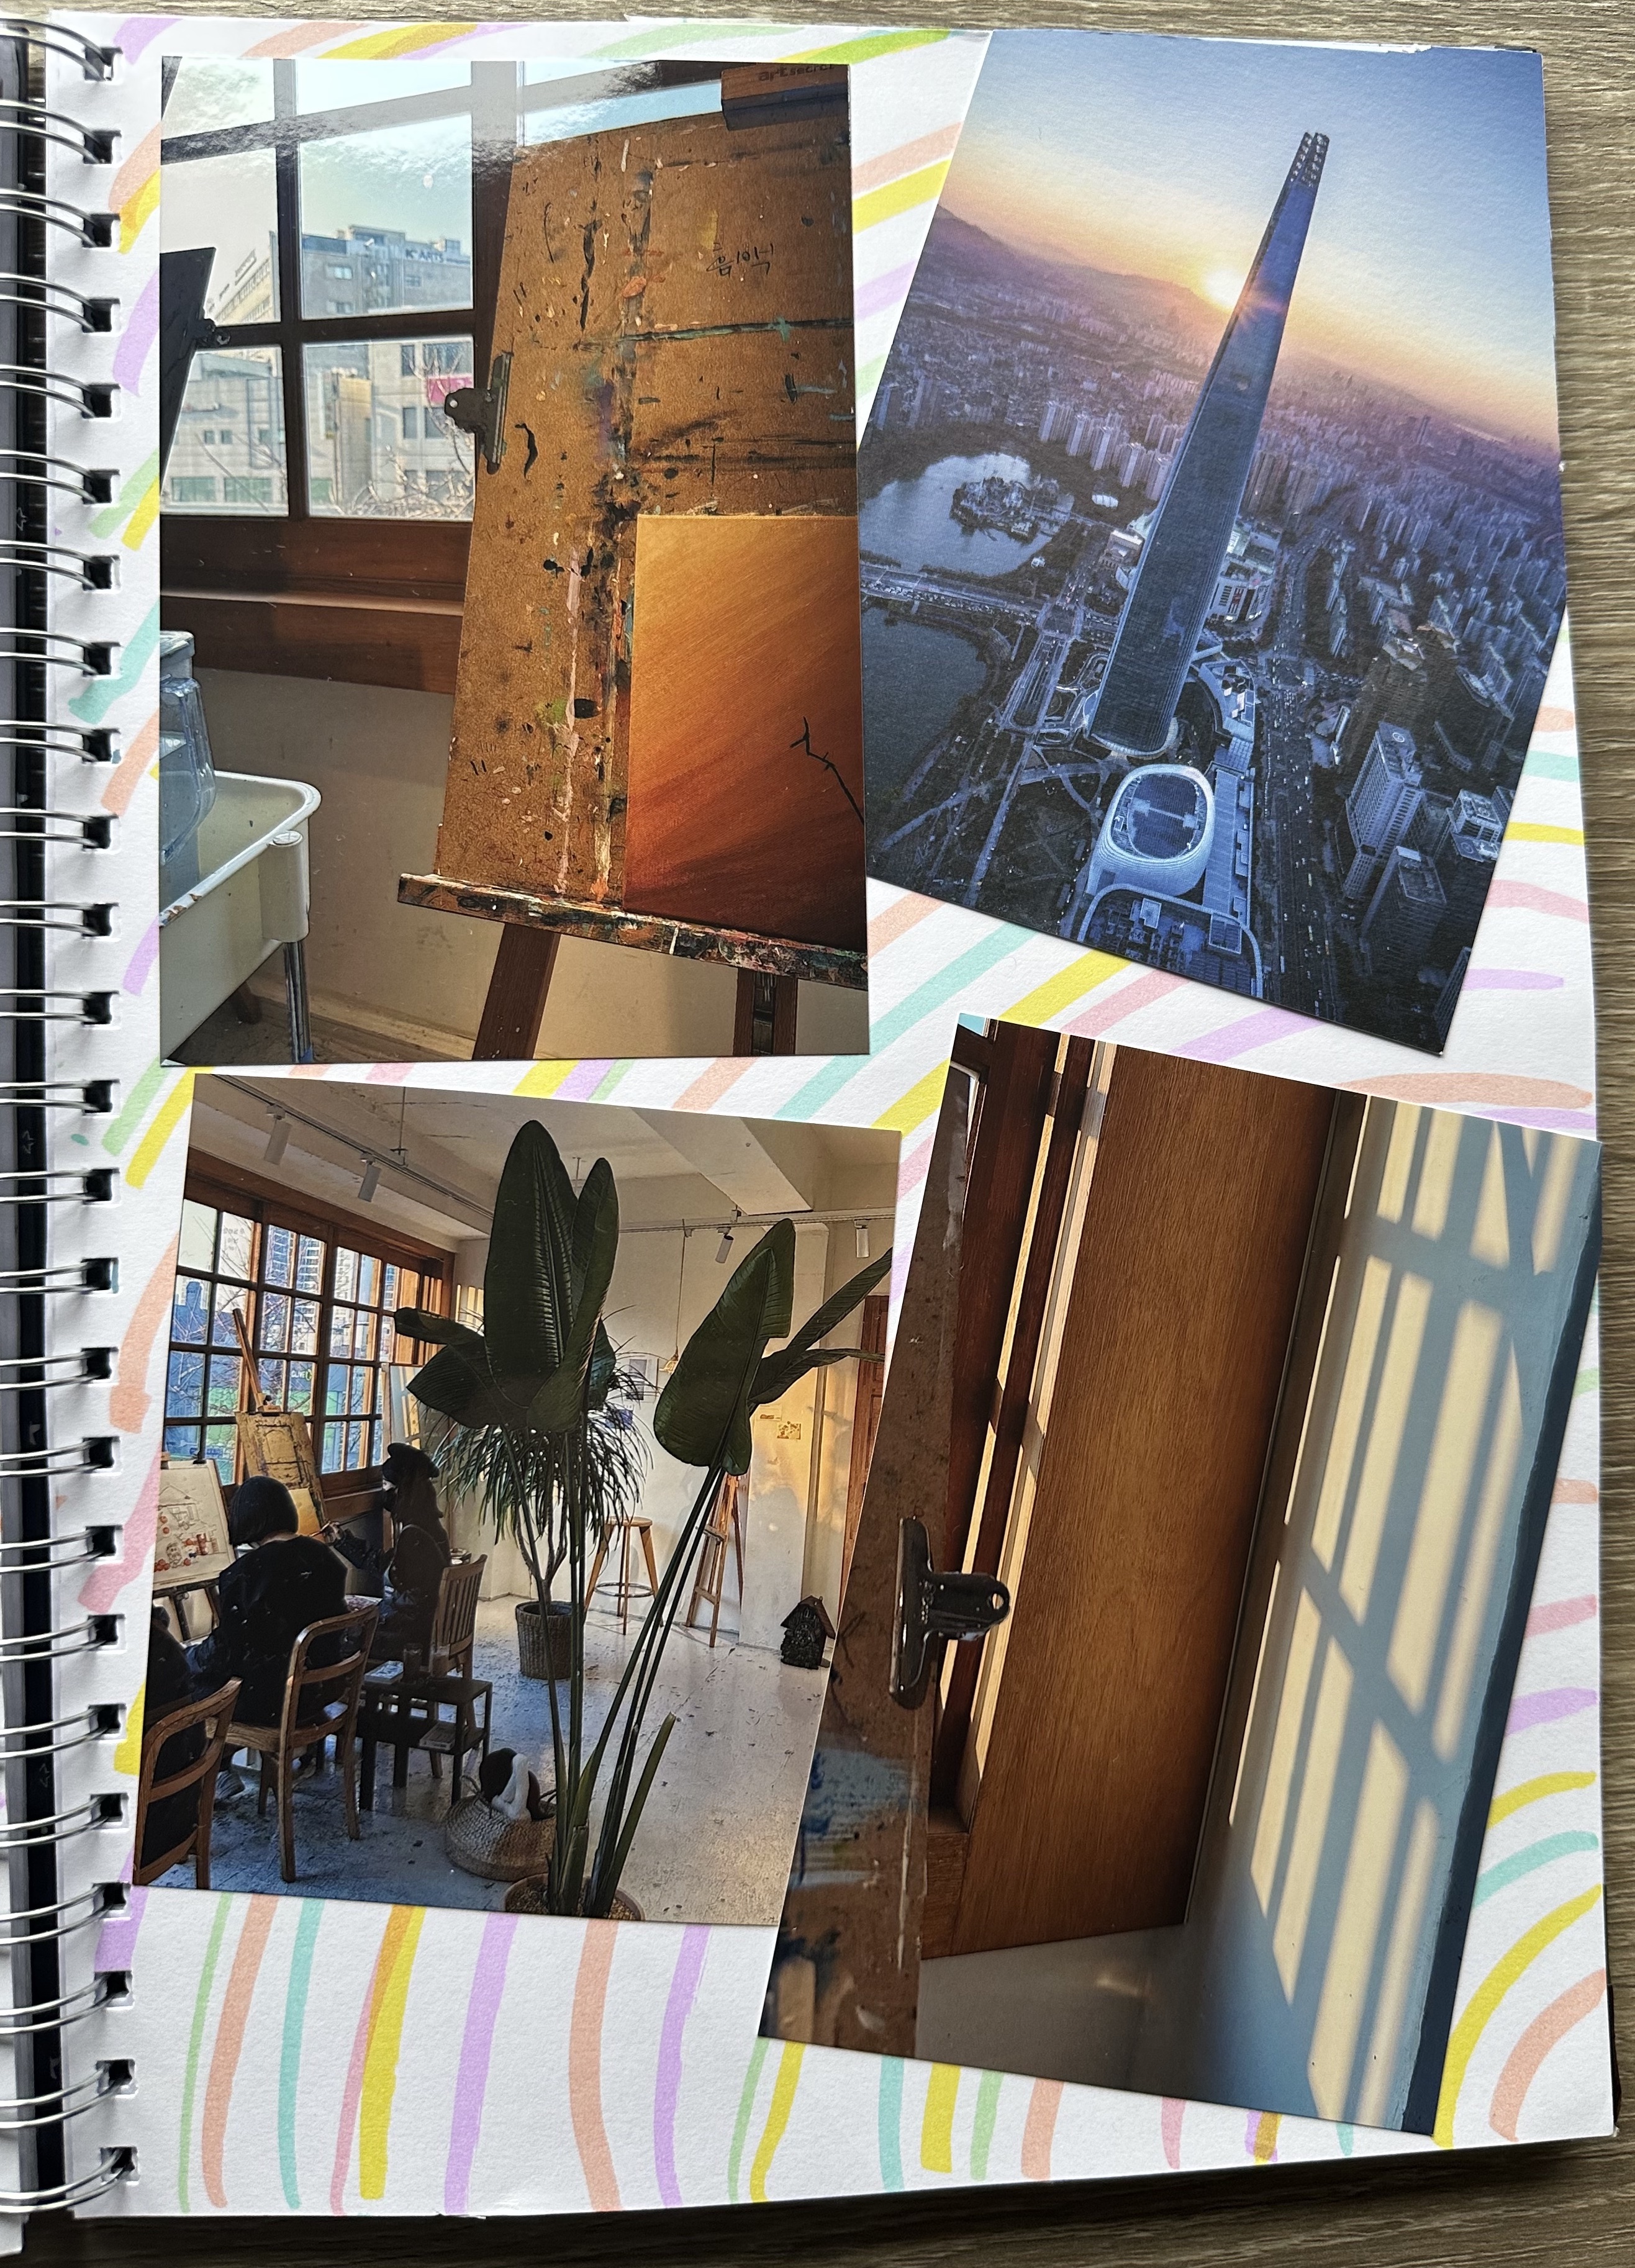
- Here comes the hard part (and just to clarify, this is how I get to work), it’s time to group your photos. I place them, broadly speaking, in chronological order. So in my case, while making the latest 2 books, I had the following main groups: general pictures of Seoul, Busan, Seoul in winter, Hong Kong, and back in Belgium. I also placed them in this order, even though my trip to Busan was at the beginning of my exchange, and Hong Kong was somewhere in the last 2-3 weeks. This is what I meant earlier with ‘broadly speaking chronologically’: because winter came after my trip to Busan, and Hong Kong was at the end of my time abroad. Since I had numerous general pictures of Seoul, I divided this category into subgroups to get a clearer overview. The smaller groups were in this case: main/touristic attractions, food, aesthetics, nightlife, nature, and BTS-related. I would mix and match some food, aesthetics, and nature photos and place them in between 2 different attractions (to sort of act like a divider). I do the same with nightlife pictures (and use them to separate 2 sights), but I would never mix them with other categories. You would not see photos in the club next to a bowl of noodles, to put it this way, because those do not give off the same vibes.


- Now for the fun part! Time to design your pages. Choose a group of photos you want to start with and see which pictures go well together (based on vibes or colors). Select which elements of your decorating items match the vibe/aesthetics/color of the images, and start arranging.
Tip! Take a picture of your arrangements, so you’ll remember where everything goes when you’re starting to attach everything.
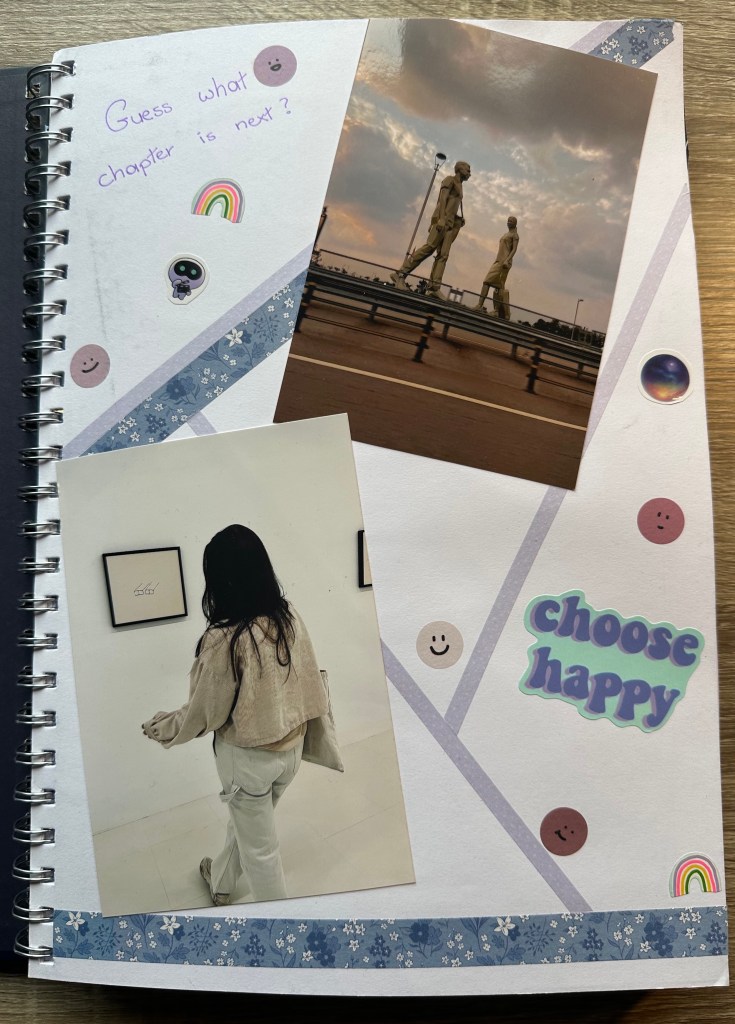
Tip! To keep things interesting, I worked with some kind of ‘themes’. You might notice that some pages consist mostly of washi tapes, others of markers, stickers, or design paper. On top of that, I also made sure that these ‘themes’ were alternating, so I don’t have 5 pages with washi tapes for example. It’s all about keeping it fun and entertaining!


As you might have noticed, I can be a bit too perfectionistic about the details, such as working with these ‘themes’. Remember, this is how I go to work. Your scrapbook is to your personal liking and working method. It’s a process of trial and error and takes up a lot of time and patience. But the making of can be very therapeutic. Plus, the result is rewarding. So, grab your scissors, glue, and creativity, and start crafting your own remarkable tales.
I’m excited to see what your creations are! Feel free to share them or tag me on Instagram. Happy scrapbooking! And as always,
Lots of love from your friend
Lara

Leave a comment